CSE190/291 – Wireless & The IoT
Lab 2: Introduction to development tools and Bluetooth LE
The purpose of today’s lab is to get you to introduce you to our development environment and tools for the first part of the course, and also get you started with BLE advertisements.
Software development environment
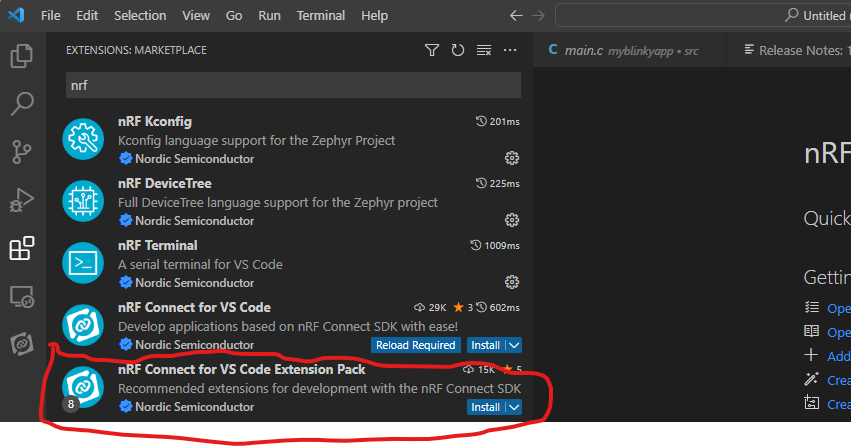
We will be using Visual Studio Code along with the nrf Connect extension. With this extension, you can directly use VS Code to develop your code, build and create firmware images, download and debug onto the hardware kits directly.
Note: Several users on the internet have reported issues with using the nrf Connect extension on M1-based Mac machines. In particular, there are issues with connecting to your hardware kit using VS Code and downloading the firmware image onto hardware. If possible, try and perform the tasks using an x86 based Mac or a Windows/Linux machine (P.S. Linux machine refers to a native Linux installation, not WSL. If you are on a Windows machine, please use Windows instructions)
It is possible to get things working with M1 Macs also, we just need to be particularly careful with the J-Link tool installation.
PreLab
First, make a copy of the PreLab2 Report Document to fill in as you work.
A. Install VS Code with nrf Connect extension
Please install nrfConnect dependencies, VS Code and the nrf Connect extension following these instructions
Note: In some cases, if you already have VS Code installed, Step 6 might give you an error (something like
Can't find a VS Code installation on this machine). This generally happens when the Toolchain Manager can't resolve the path correctly. If you know you have VS Code installed, at this stage an easier workaround is to install the extension directly from VS Code. Search for and installnrf Connect for VS Code Extension Packextension.
There is no deliverable for this section.
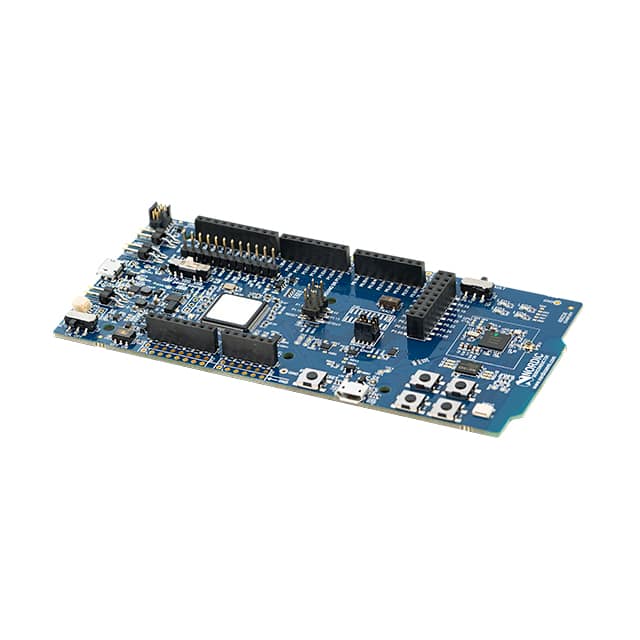
B. Build and flash a sample project on your nrf52840DK
We will now build and flash an example project to verify if everything is installed correctly.
To create and build an example project, go through the tutorials on the nrfconnect website.
In particular, look at the tutorials on Creating an Application,Building an An Application and Debugging an Application.
There is also a Youtube playlist of video tutorials; videos 2-5 are helpful.
PreLab Q1: Build and flash the blinky code example. This can be found in examples under zephyr/samples/basic/blinky. Record a small video showing the blinking LED.
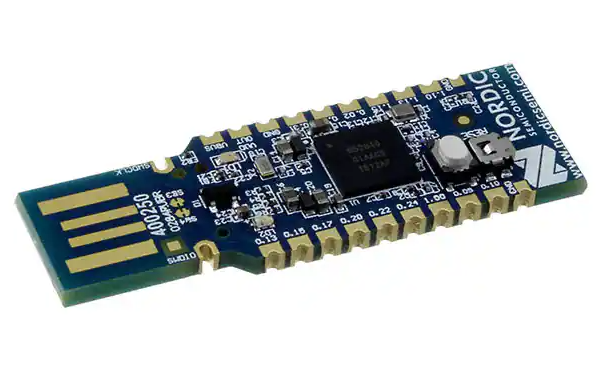
C. Install the nrf Sniffer for BLE
To be able to actually capture BLE traffic in the vicinity, we will be using the nRF Sniffer for BLE application. This application provides a firmware image to be installed on the nrf52840 dongle, and a custom Wireshark plugin that allows you to view the captured packets on Wireshark. To install follow the instructions provided here
What's
extcap?We are setting up wireshark to use an _ext_ternal _cap_ture device (your dongle). That requires a few pieces, which those instructions walk you through.
- First, you need a physical radio which is configured to sniff packets.
- Then, you need some interface software that runs on your computer and talks to the radio (this is the
nrf_sniffer_bleprogram – it doesn't actually sniff, it just sets up a serial tunnel to record packets being streamed off by the firmware loaded on the dongle).- Finally, wireshark needs to know what kind of packets are being sniffed and how to decode them. That's what the 'profile' is.
Heads Up (for Windows folks): The default extcap folder on windows is a temporary folder. If you suddenly can't find the capture interface and it used to be there, check if you need to re-copy the
extcapfiles and set it up again.
Prelab Q2: After successful installation, test out if everything works. Just do a small capture of 10-12 BLE advertisement records and post a screenshot
In-Lab
First, make a copy of the PostLab Report Document to fill in as you work.
A. Scanning and inspecting BLE devices
You should be able to perform this step using just the nRF BLE sniffer dongle and Wireshark. We will have a BLE scanner app running in the lab, so there should be sufficient SCAN_REQ packets in the air.
However, if you aren't able to obtain any SCAN_REQ packets in your capture, you can install a BLE scanner app on your phone and that should do the trick. A good app for this is the nRF Connect for Mobile
B. Setting up and observing an iBeacon
For this step, we will be working with the example zephyr/samples/bluetooth/ibeacon.
Flash the example onto your nrf52840DK board, and then observe the advertisement beacons using your nrf dongle + Wireshark.
>Note : Here is a useful link to understand the structure of iBeacon packets: Understanding the different types of BLE Beacons
PostLab
Go back and fill in the PostLab questions in the PostLab Report Document.
Once you are finished, submit your report via Gradescope.